Free SSL (Lets Encrypt) Installation on WordPress Hosting
Note: Make sure that your domain name DNS is pointed to the WordPress server as provided in the activation form before starting installing the free SSL. After that, ou can check the DNS for your domain using online tools such as DNS Checker or intoDNS
1. Firstly, log in to your Plesk Control Panel as provided in the hosting Activation Form. As per Figure 1.1:
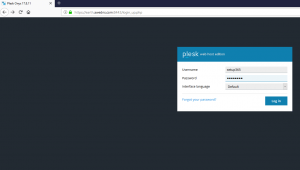
Figure 1.1: Login Plesk Control Panel
2. Next, enable the SSL on your domain.
Go to > Hosting Setting in Plesk. As shown in Figure 2.1:
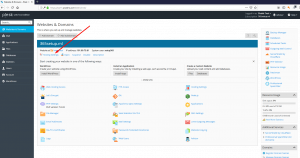
Figure 2.1: Open Hosting Setting
- Make sure both the “SSL/TLS Support “and “Permanent SEO-safe 301 redirect from HTTP to HTTPS “ are Enabled. As shown in Figure 2.2, and then Click On OK to save the settings.
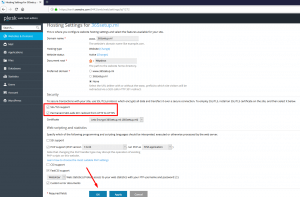
Figure 2.2: Save the settings
3. Then Install (Let’s Encrypt) on your Domain:
- Go to (Let’s Encrypt) feature in your Plesk. As shown in Figure 3.1:
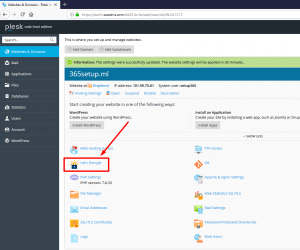
Figure 3.1: Install Let’s Encrypt
- Select the checkboxes for the www. and webmail., then click on Install. As shown in Figure 3.2 and Figure 3.3:
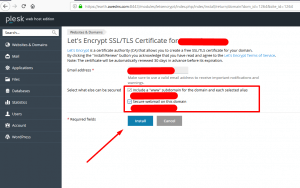
Figure 3.2: Select check boxes for www. and webmail the install
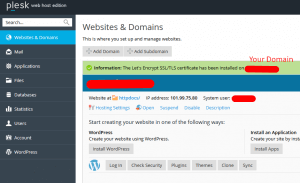
Figure 3.3: Installation of the domain
4. The SSL has been installed on your domain you can test by browsing your domain with https://yourdomain.casbay.com as per the example below in Figure 4.1:
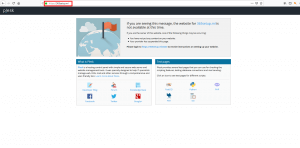
Figure 4.1: Test by browsing your domain
Click to check out more articles on the topic: WordPress Hosting