Register .SG Domain
Get your domain for local business in Singapore.
Register Domain
Domain Transfer
Domain Privacy Protection
Protect your private information with Whois.
Dedicated Servers
Robust, secure and industrial-grade dedicated servers.
It’s not about what we say, it’s about what we do. Learn more about Casbay’s background and confidently join our growing community.
Our vision, history and photo gallery.
Our Data Centre
Privacy Policy
Understanding Casbay Privacy Policy.
Client Reviews
Find out what our clients say about us.
News
The latest news and media releases.
In this article, we will guide you to create a domain in Plesk admin panel.
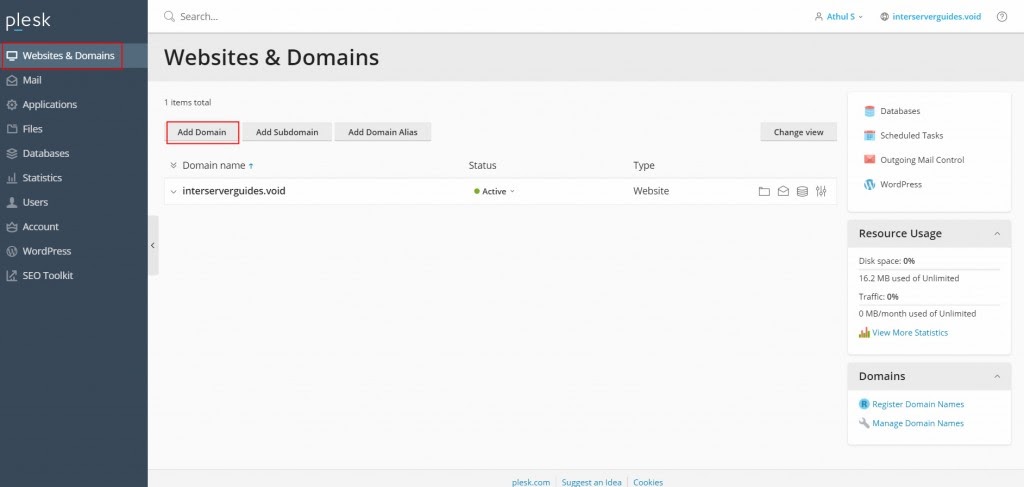
1) Firstly, log in to the Plesk admin panel.
2) Next, click on ‘Websites & Domains’, normally it will be selected by default. Then, click on the ‘Add Domain’ button.
3) After that, please add your Domain name.
4) Scroll down and select the check box “Secure the domain with Let’s Encrypt” to ensure that the domain has SSL activated. Click ‘OK’.
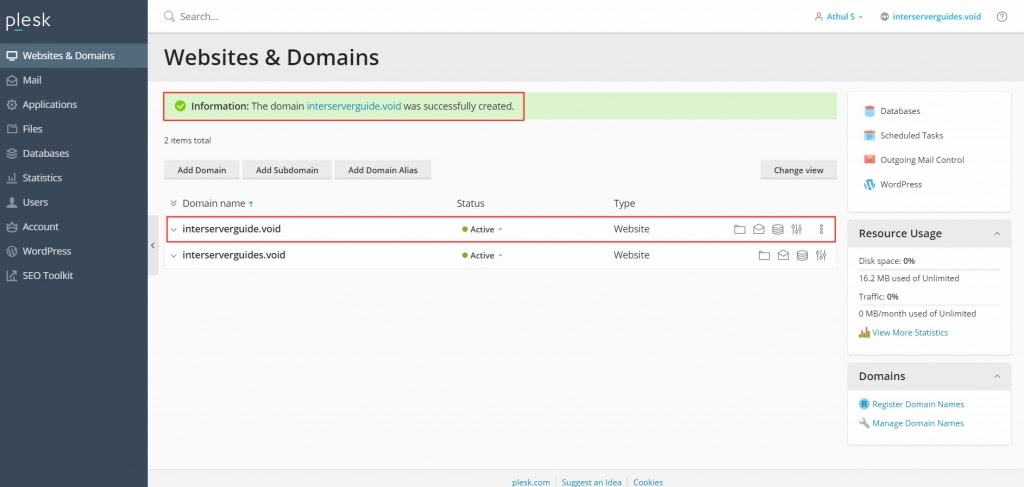
5) Once the domain is added, you will see the message “The domain was successfully added”.
That is it! You’ve just created a domain in plesk.
If you need any further assistance, please do not hesitate to contact us. All our support staff are ready to assist you.
Click here to read HOW TO: Add new Domain Alias in Plesk.
Click here to read What is SiteLock.