2. Next, click the Email address icon once logged in.
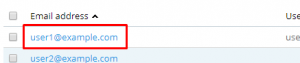
3. Then, click on the e-mail address on the mail page for the e-mail forwarder you wish to create.
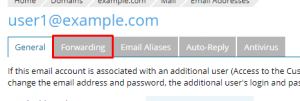
4. On the next page, click on Forwarding tab.
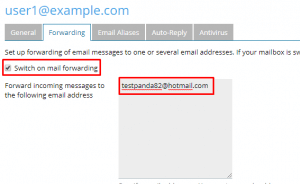
5. Enable the “Switch to mail forwarding “ box, and enter the email address you want to be forwarded, in the “Forward incoming messages to the following email address.”
6. Lastly, click on OK button and you are done.
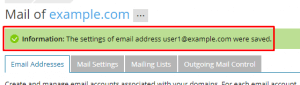
7. You should see the success message on the next screen. The success message should be viewed on the next following display.
We hope this article helped you to learn about how to set email forwarding in Plesk. For more articles, please go to Knowledge Base.